Start with two numbers
Before you look at a single component, answer these: how many SKUs do you carry, and how many pallets do you hold per SKU?
A high SKU count with one or two pallets each points to selective racking and full accessibility. A low SKU count with deep stock per SKU justifies a denser system that trades selectivity for cube. Almost every other decision follows from that, and getting it wrong is expensive in a way component choices never are — a dense system installed against the wrong inventory profile costs throughput every single day it operates.
Rack anatomy in plain language
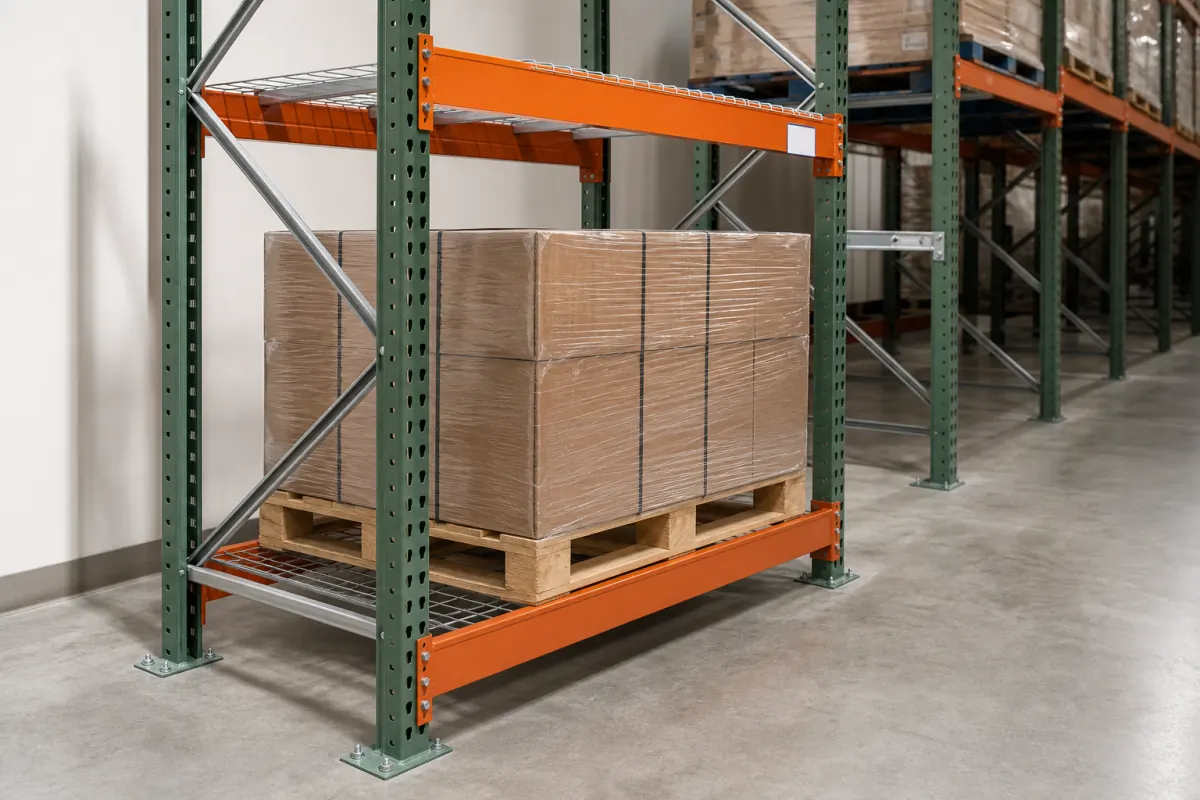
Uprights are the vertical frames. Their gauge and height, along with the spacing of the horizontal and diagonal braces between them, determine column capacity.
Beams run horizontally between uprights and carry the pallets. Beam capacity is stated per pair and always falls as the span increases.
Footplates and anchors transfer load into the slab. This connection is where seismic design concentrates.
Wire decking sits on the beams to support pallets and, importantly, to let sprinkler water through. It is frequently a fire code requirement rather than an option.
Row spacers tie back-to-back rows together. Load plaques state the rated capacity per level, and every compliant installation has them.
Capacity, in the order it actually matters
Work down the load path, not up:
- Pallet weight, loaded. The heaviest pallet you will actually store, not the average.
- Beam capacity at the span you are quoting. A beam rated 5,000 lbs per pair at 96 inches does not carry 5,000 lbs at 144 inches. Widening a bay to save on uprights routinely costs more capacity than it saves in material.
- Upright capacity. Determined by gauge, height, and brace spacing, and it is the ceiling for every beam level on that frame.
- The slab. Anchor pull-out values depend on concrete depth, compressive strength, and proximity to joints and slab edges.
Skipping straight to beam capacity is the usual shortcut, and it is why systems get specified that the columns cannot actually support.
Aisle width is the highest-leverage decision
More pallet positions are won or lost here than anywhere else, and it is the variable most often set by habit.
A standard counterbalance forklift typically needs 11 to 13 feet of clear aisle. A reach truck operates in roughly 8 to 9 feet. Very narrow aisle equipment works in 6 feet or less with wire guidance or rail.
Moving from counterbalance to reach truck in the same building commonly recovers 20 to 30 percent more pallet positions. That is not free — it changes the fleet, the operator training, and the floor flatness requirement — but when the alternative is leasing more square footage, the comparison is worth running before signing anything.
Clear height comes from the sprinklers, not the roof
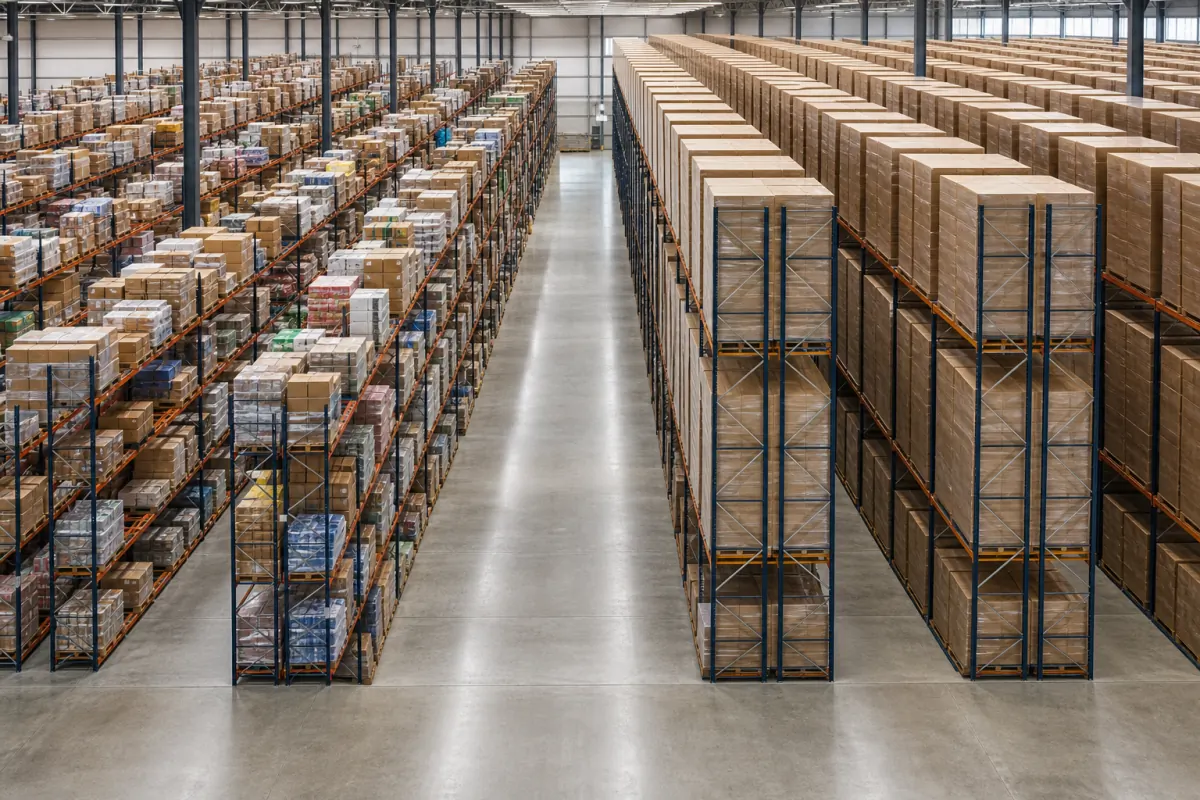
Usable rack height is governed by the distance to the sprinkler deflectors and by the fire protection scheme in place. Commodity classification, flue space, and in-rack sprinkler requirements can cap a system well below the physical ceiling.
Confirm this before a layout is priced. Discovering it afterward usually means re-engineering the whole system, and in older buildings the gap between roof height and usable height is routinely larger than owners expect.
Which system fits which profile
Selective — the default. 100% accessibility, lowest cost per position, no special equipment. Right for high SKU counts and mixed inventory.
Double-deep — two pallets deep, roughly half the aisles. Needs a deep-reach truck, which is a fleet change. Suits at least two pallets per SKU.
Push-back — two to six deep on nested carts, no special forklift required. Last-in-first-out within each lane. The economics improve with depth; at two deep it is often not worth it.
Drive-in — the forklift enters the structure. Highest static density and competitive per position, but selectivity drops sharply, it is strictly last-in-first-out, and the damage tax is real. Budget for rack protection and a tighter inspection cadence.
Pallet flow — gravity rollers giving true first-in-first-out at high density. The highest cost per position, and it earns that only where throughput justifies it.
For a fuller breakdown with cost comparisons, see the pallet racking cost guide.
New or used
Certified used racking commonly reduces material cost substantially against new, and used inventory is often available immediately against multi-week lead times.
The gap narrows once the whole project is priced, because engineering, anchors, permits, and installation cost the same either way. And used carries a documentation requirement: a beam without an identifiable manufacturer and series cannot be safely load-labeled, which means it cannot be properly permitted either. The used racking inspection checklist covers what to check before committing to a lot.
Installation, inspection, and the paperwork
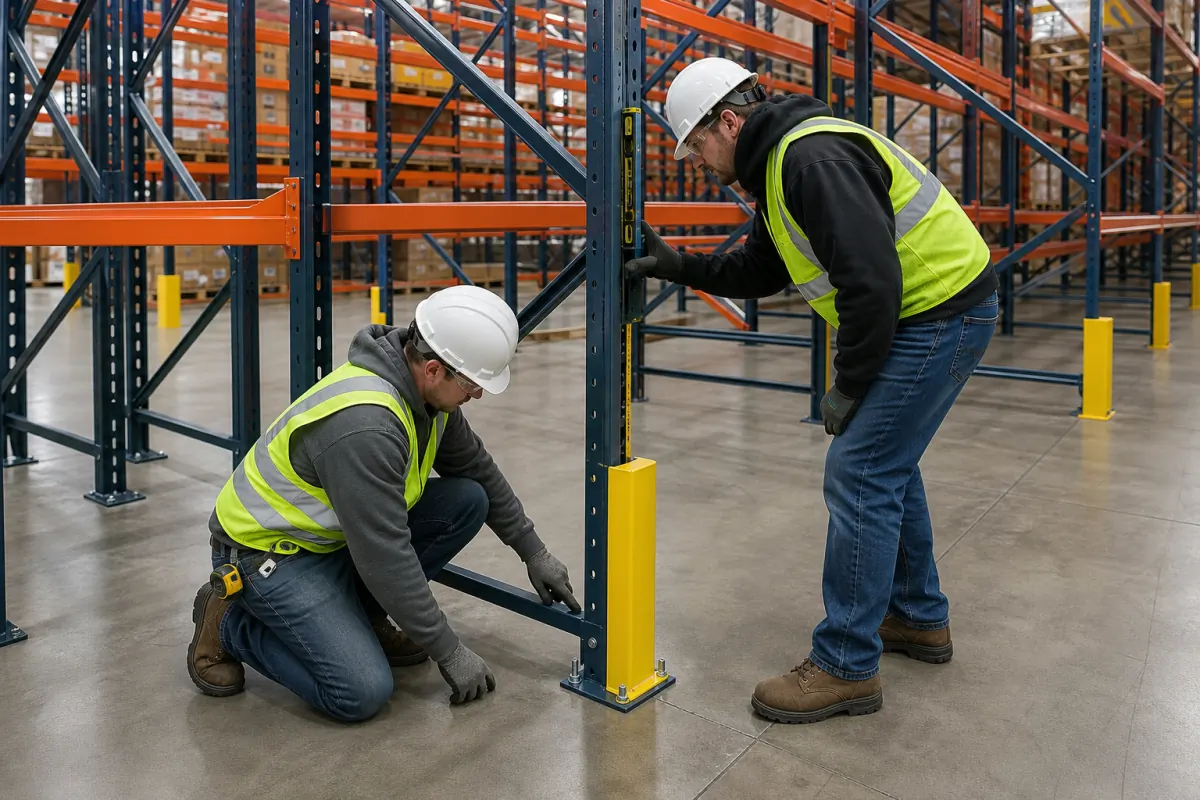
A compliant installation ends with more than assembled steel. Expect engineered load capacity labels on every bay, as-built drawings, anchor documentation, and a plumb check against the tolerances in ANSI MH16.1.
Permit requirements are set by your local building department, not the state, and thresholds differ between neighbouring jurisdictions. In higher seismic design categories, stamped drawings and anchor calculations are commonly expected. The permits and seismic anchoring guide covers what the review typically asks for.
After that, an annual documented inspection is the practical baseline, supplemented by staff trained to report impact damage immediately rather than at the end of a shift.
Questions to ask before you buy
- What is the cost per pallet position, installed?
- What beam capacity is quoted, at what span?
- Is freight included, and from where?
- Are anchors, wire decking, row spacers, and column protection in the price?
- Who produces the engineered drawings, and are they stamped?
- Who handles the permit, and has the jurisdiction been confirmed?
- What is the lead time, and what happens if it slips?
- For used: what is the manufacturer and series, and is a capacity chart available?
That list turns a set of incomparable quotes into a decision.
Getting a layout
Send us your pallet count, pallet dimensions and loaded weight, SKU profile, lift equipment, and building dimensions. We will return a configured layout with the positions gained and the capacity math shown.
Request a quote, or start with the pallet racking page for what we supply and install across Utah and the Mountain West.